If you have read my build review (click here if not:
http://forum.giga-byte.co.uk/index.php/topic,3619.0.html ) you will know that I recently took delivery of this motherboard. Now, I have to admit that I'm not much of an overclocker. The need for speed isn't that important to me but, I know that other forum members are interested in this aspect of computing so, I have started this thread to show my progress and what I can actually get out of this new PC.
CAUTIONWhen overclocking remember that you can damage components through excessive over voltage and heat. Whilst companies such as Gigabyte provide Over-clocking functions and utilities these should be used with caution. You should bear in mind that if you do cause damage to your motherboard or other components whilst overclocking they might not be covered by the warranty.
Things to check before you start overclocking:It is important that you make sure you have a good cooling system in place. When you overclock you generate much more heat and it is important that you can keep your temperatures as low as possible. Make sure you have a good CPU cooler, I am using a Noctua NH-D14 which is a really good Air cooler or, if you prefer water cooling is also a good choice. Whichever cooling route you go down make sure it is working properly before you start any tweaking.
Know how your PC runs at default settings as this will give you a good baseline to work from. I run my PC's for several weeks BEFORE I start making any major adjustments. It is no good tweaking away and encountering problems if your system isn't perfectly stable at default settings.
Make sure you know and understand how to clear CMOS properly and also how to return your PC to it's defaults as you will probably have to do this quite a bit until you get things running stably.
Keep a record of what changes you make in BIOS. It is very easy to get carried away and actually forget what you have altered, especially if something goes wrong.
Find out the maximum voltages that your components can handle. It is all to easy to up them too much in an effort to stabilize things.
Remember, settings and voltages that work on one PC might not work on yours, even if you have the same basic components. USe such information as a guide and be prepared to make adjustments as required to stabalize your PC.
With the AM3 CPU's you have to keep a a very close eye on the RAM speed. When you adjust the HT Link Frequency in BIOS this will alter your RAM speed so if you increase it you may well have to decrease the RAM frequency to keep it below 1333MHz.
Ready for the first stepsI have been running this PC at default settings for a couple of weeks and I feel that I am now ready to start pushing things a little. With the AMD Phenom ii 1090T BE CPU the first steps for overclocking the CPU are relatively easy.
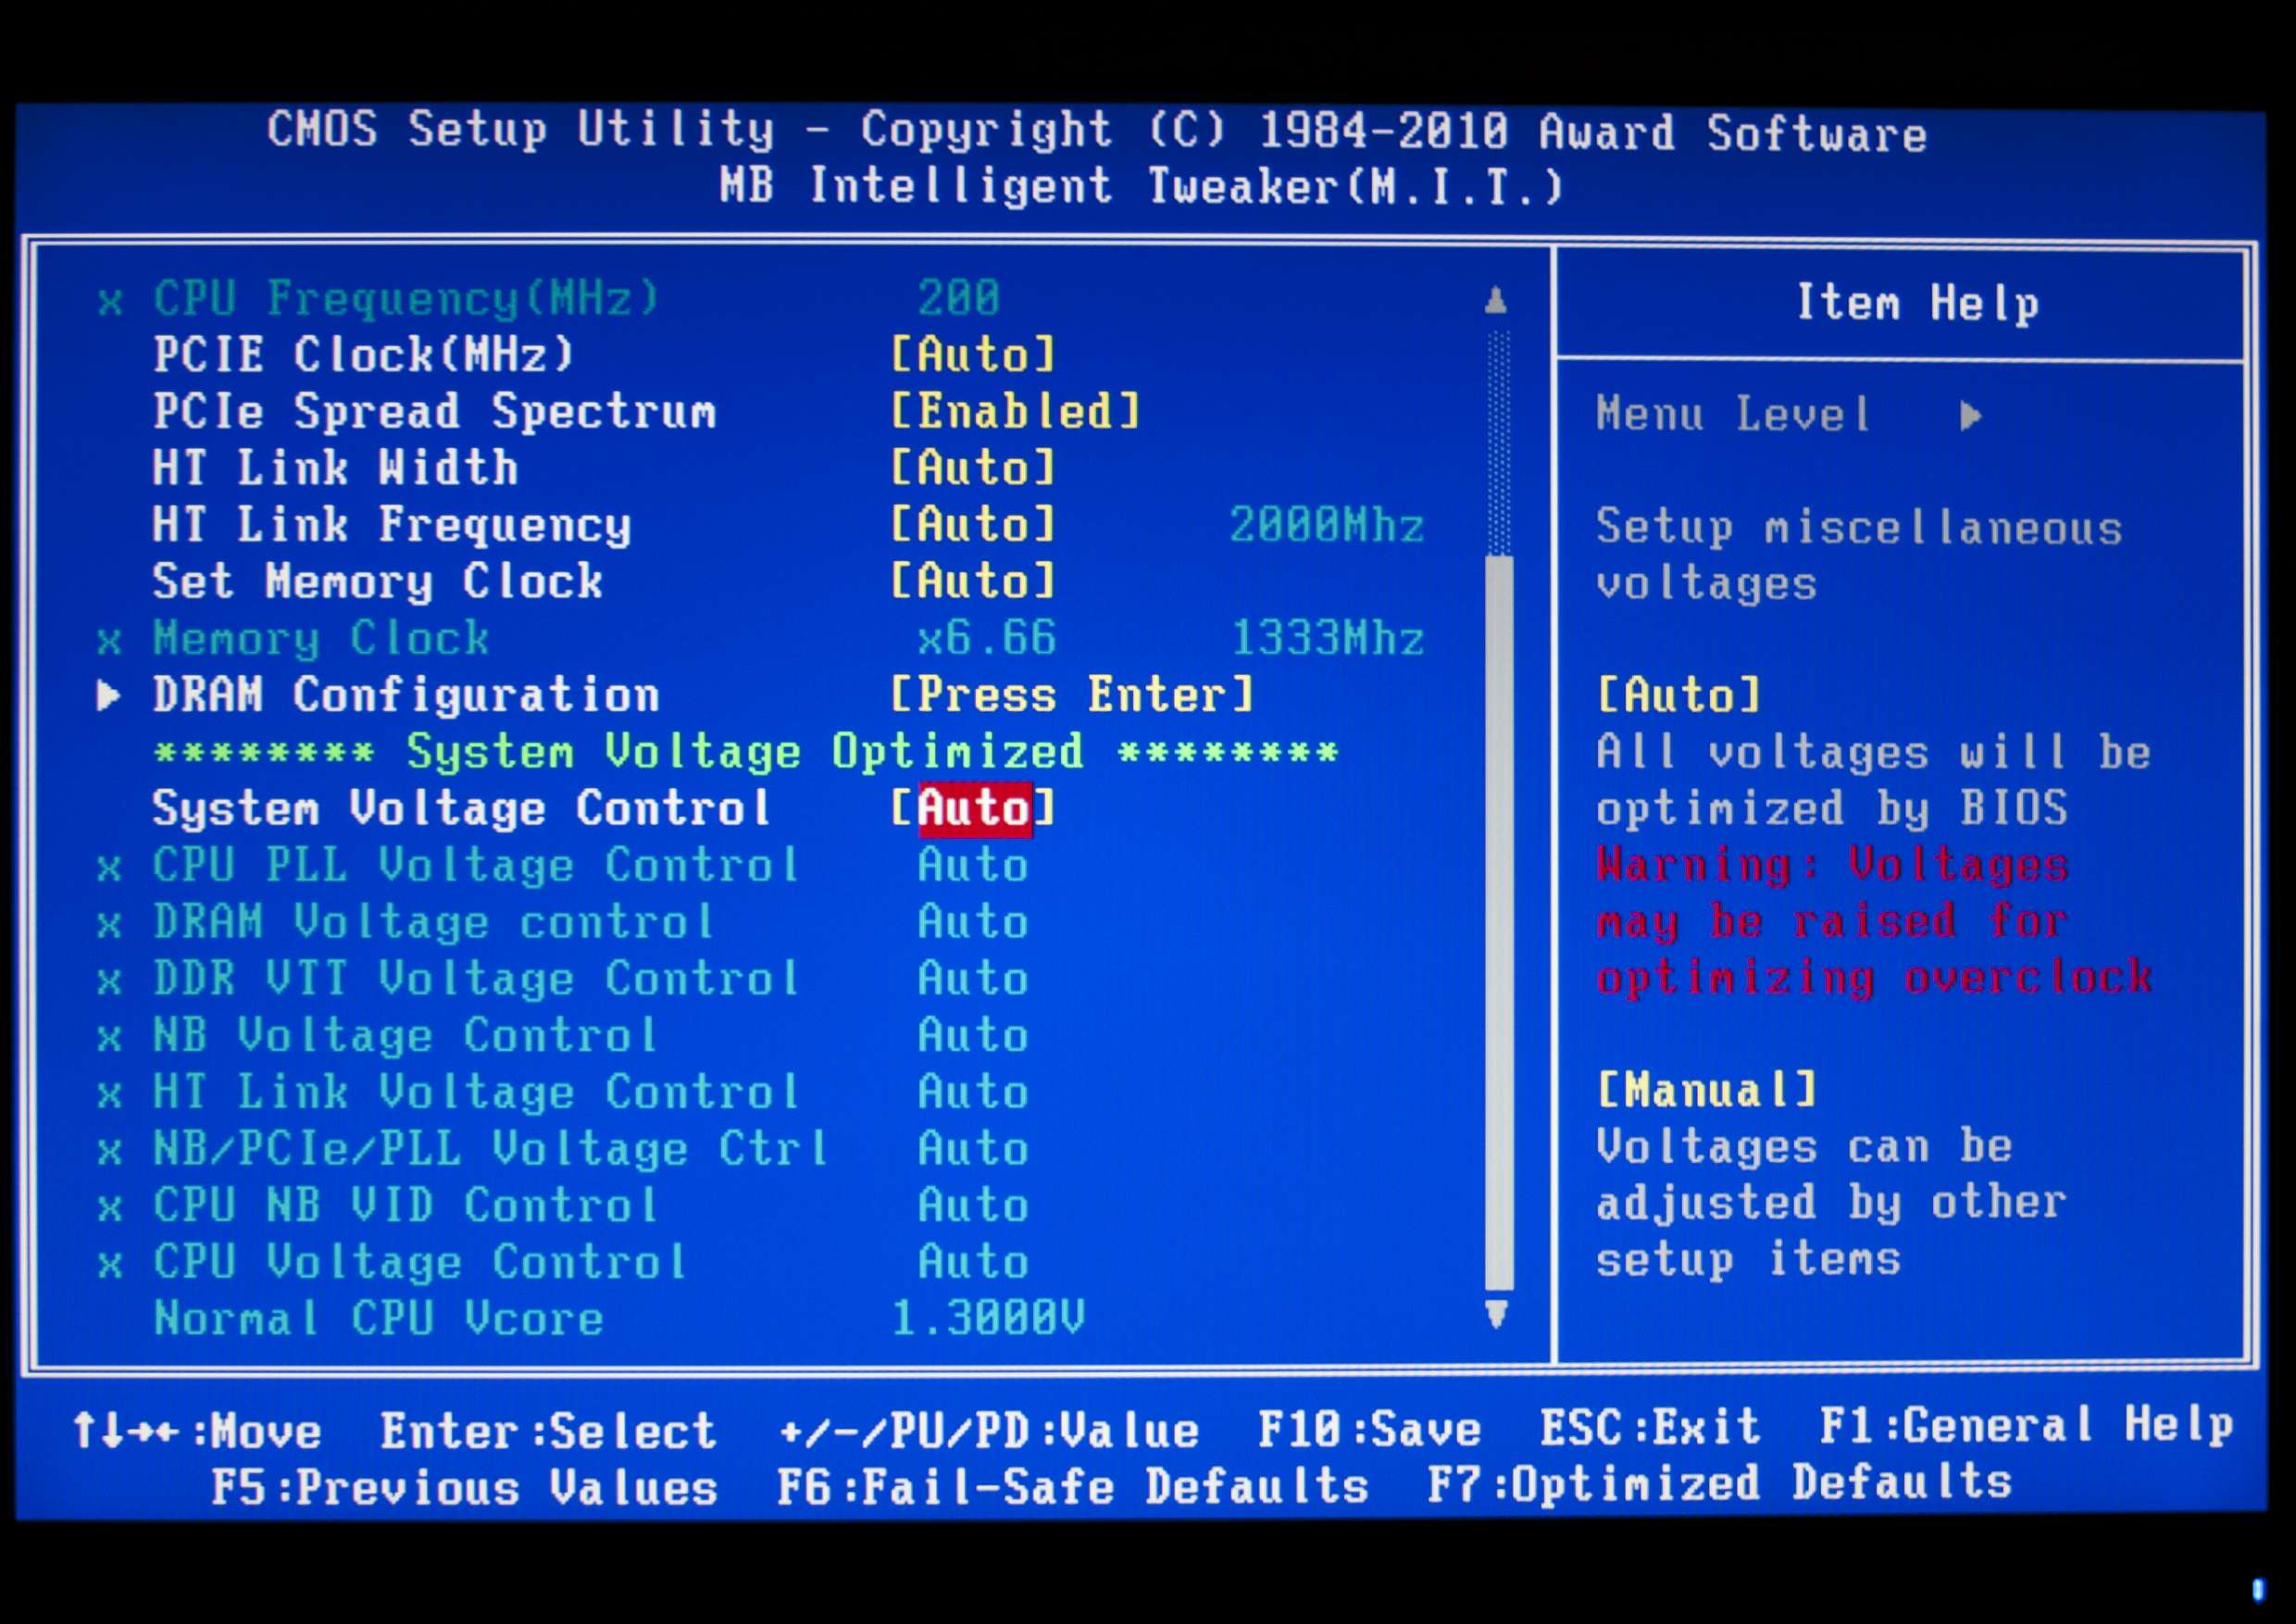
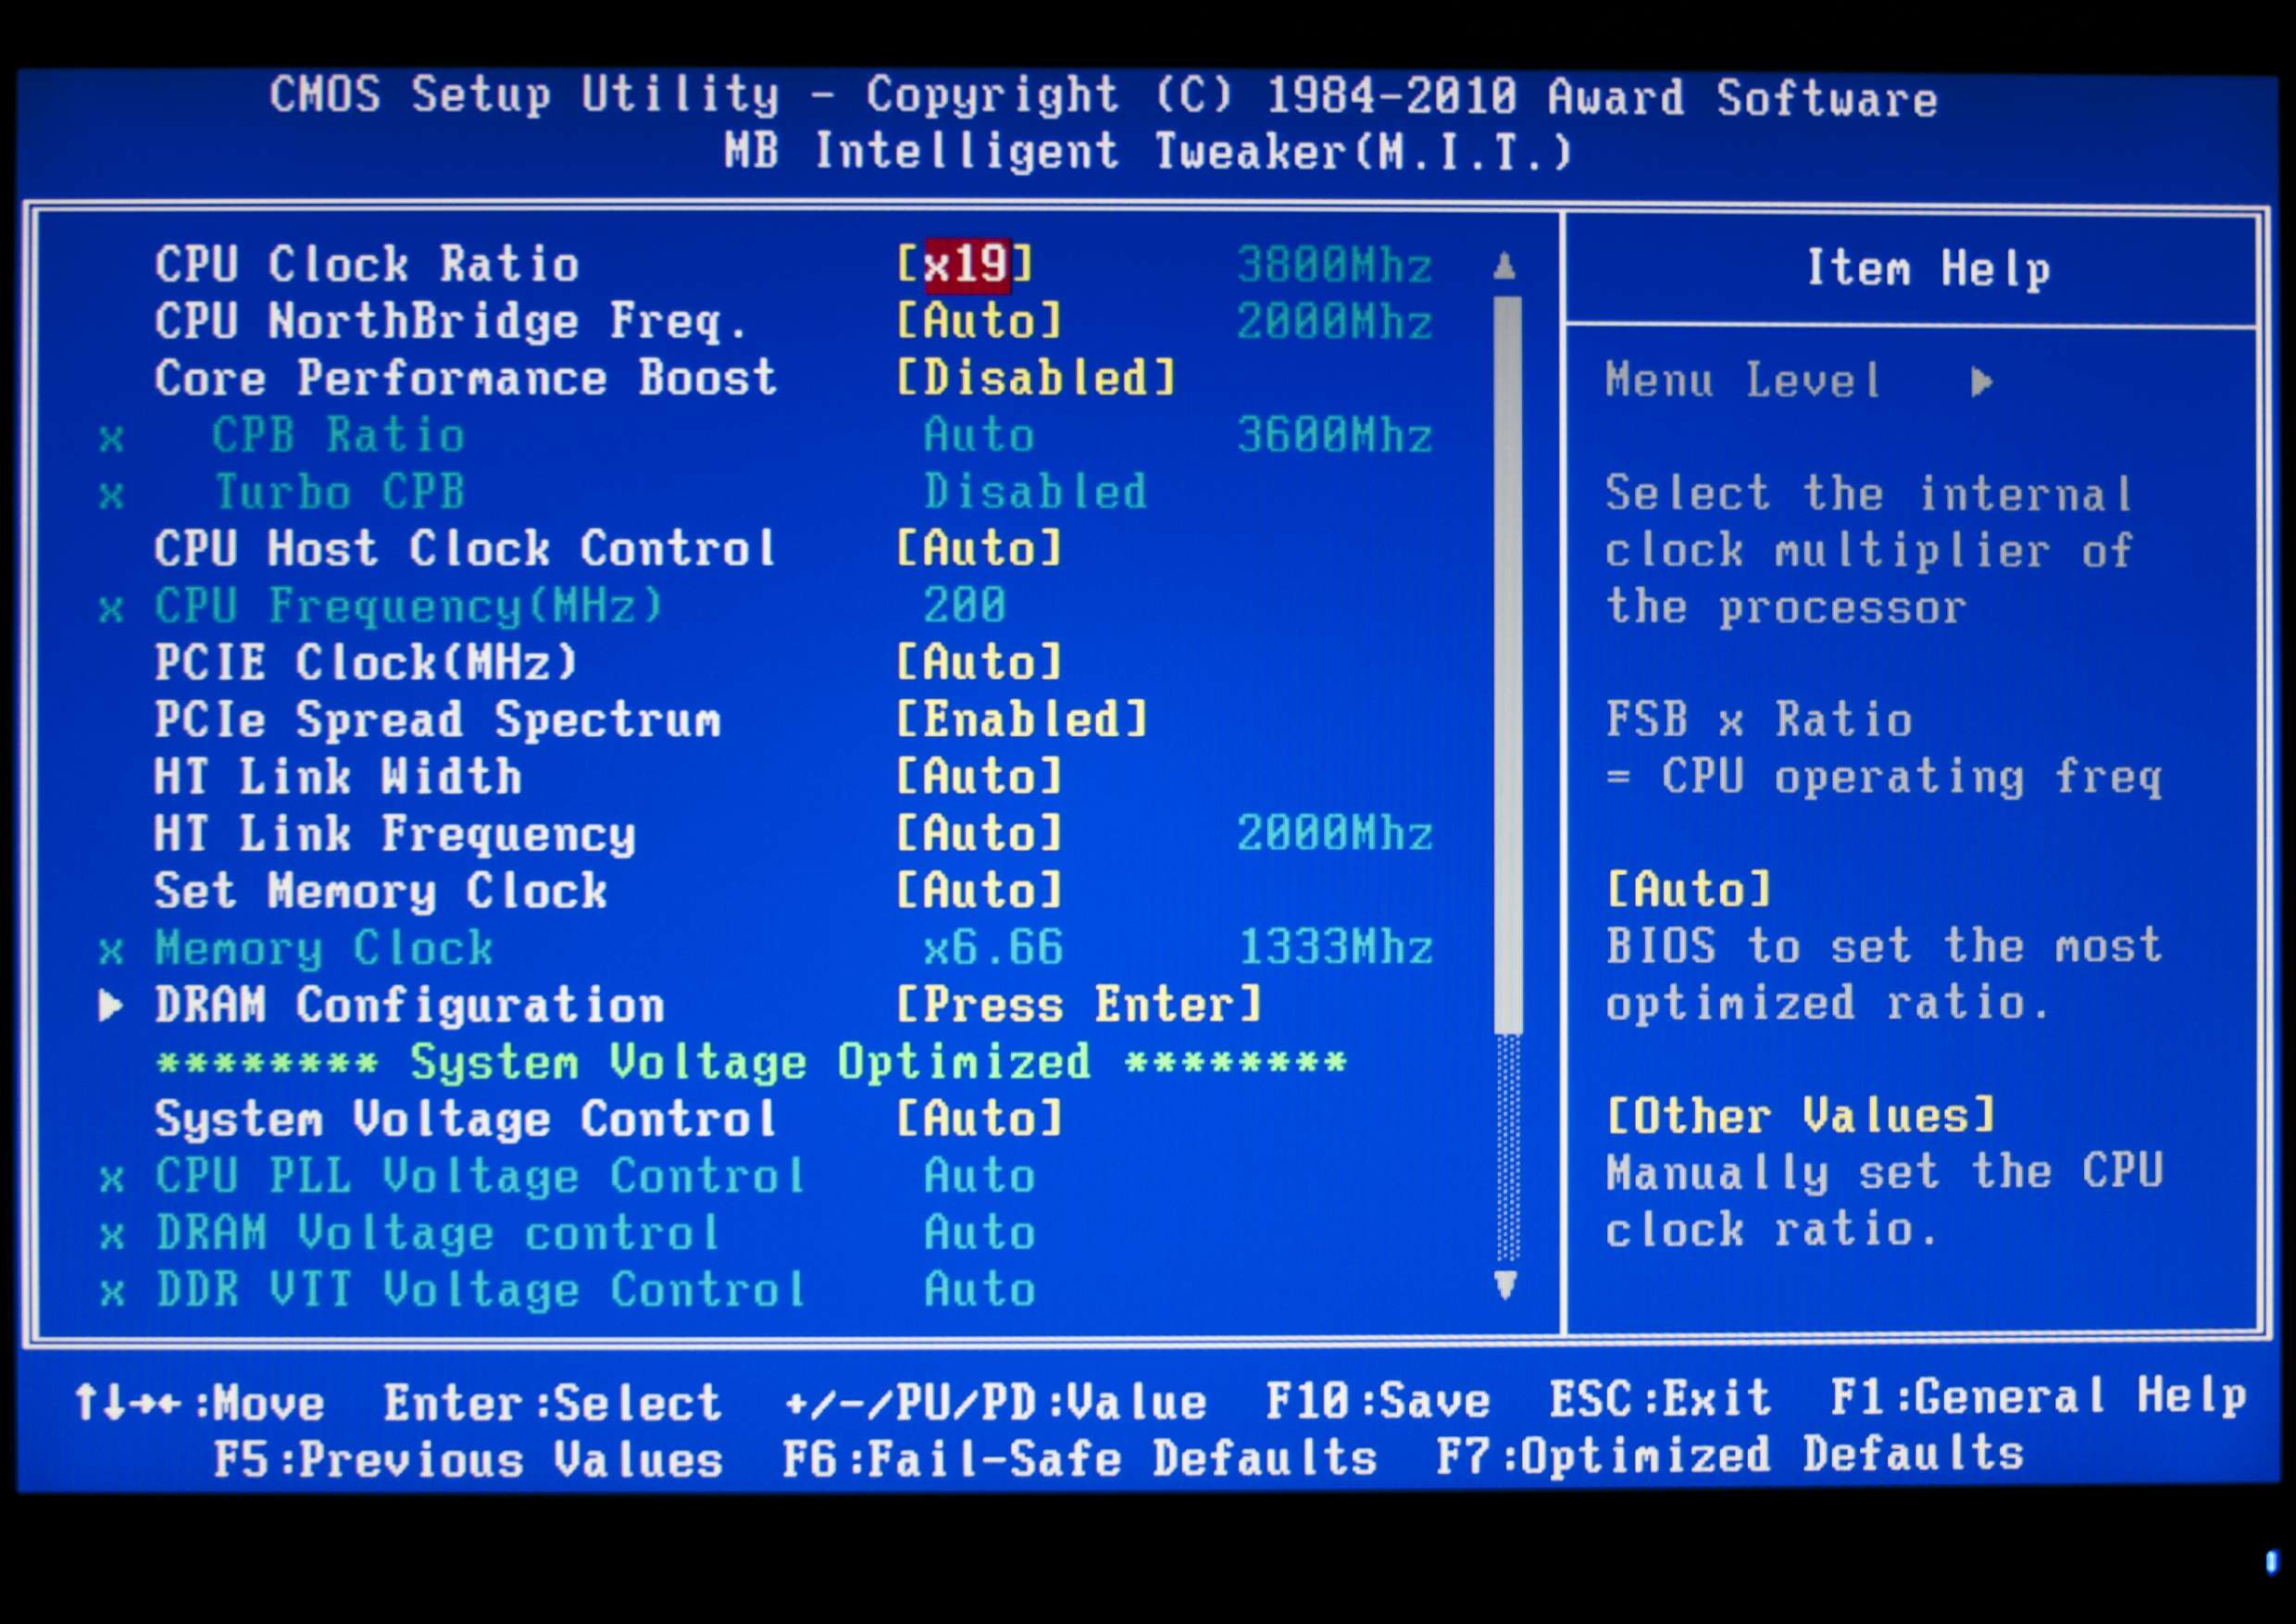
Under the MIT Section of BIOS, the first thing to do is disable the Core Performance Boost item. Disabling this automatically locks off the CPB Ratio and Turbo CPB items too. Then all you need to do is up the CPU Clock Ratio. Don't increase this too much in one go, for the 1090T CPU X16 is the default setting which gives a core speed of 3200MHz. increasing the multiplier to x17 gives a core speed of 3400. Make the adjustment save to BIOS and then reboot the PC. If everyting is OK the system will boot properly and load your OS. You now have a CPU running at 3400MHz.
Now, hardcore overclockers will tell you that you have to stress test everything too make sure your systems is stable. Me, well I'm more pragmatic and I tend to follow the suck it and see route which means I don't stress test anything. If the PC is going to fall over it's going to do it no matter what I do and if it falls over then I will go back and make some adjustment and then see what happens. I'm overclocking not working on something really important so I expect to see a few BSOD's along the way. But, if you are happier testing things out at every stage the by all means run some stress tests.
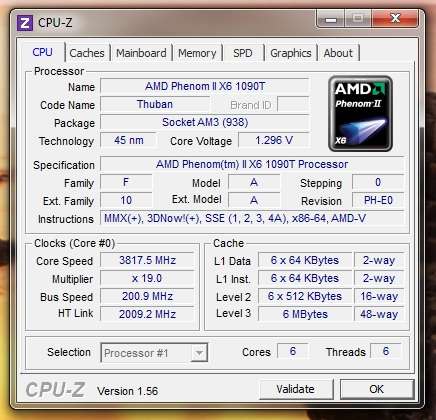
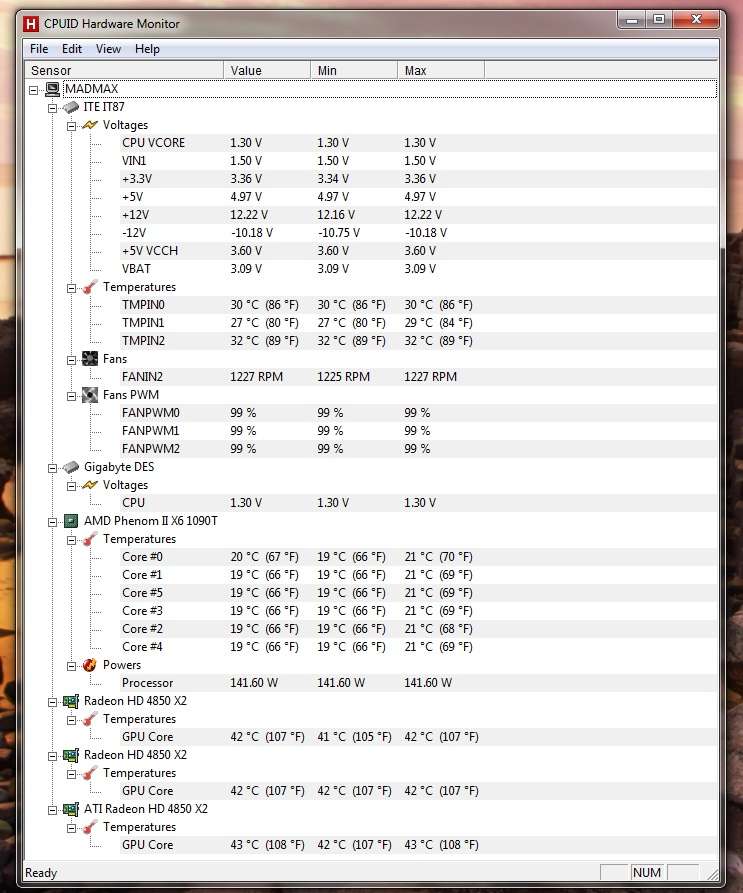
Once you are happy with this slight increase in speed then go back into BIOS and up the CPU Clock Ratio another step and go through the whole thing again. Eventually you will come to a point where your PC won't BOOT and you will have to clear CMOS or it will BOOT but your OS will BSOD whilst loading or once you are actually up and running. If this happens, pull the multiplier back to the setting that it was working at previously. On my PC I can set the CPU Clock Ratio to x19 (3800MHz) without a problem as soon as I try setting X20 (4000MHz) Windows BSOD's at the welcome screen. I now know that I will have to make other adjustments to get the CPU above the 3800MHz..........


to be continued.......
