About two months ago, I took delivery of a Gigabyte Aorus GA-AX370-Gaming K7 motherboard. Having now had a good opportunity to set it up and see how it runs, I thought I would like to share my experiences, so far.
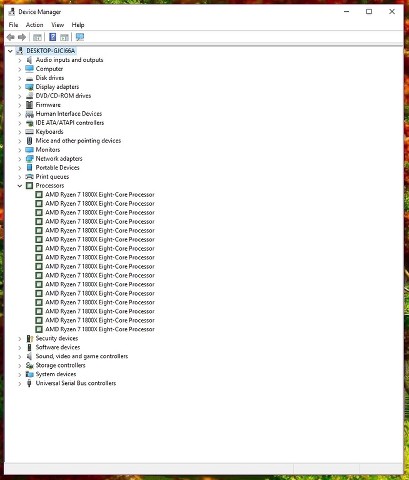
Apart from the motherboard, other new components are: AMD Ryzen7 1800X CPU; 32Gb Corsair Vengeance RAM (4x8Gb) 2400MHz, Samsung M.2 Nvme 512Gb Drive; NVidia GTX 1050Ti 4Gb Passive Cooled GPU.
The rest of the components were taken from my previous Intel build and include: 250Gb Corsair SSD; 250Gb SanDisk SSD; Dell 27" Monitor; Corsair AX760i PSU; Logitech wireless Keyboard; Logitech Wireless Touchpad; Roland Duo Capture EX USB Audio Interface; Axiom 49 Midi Keyboard.
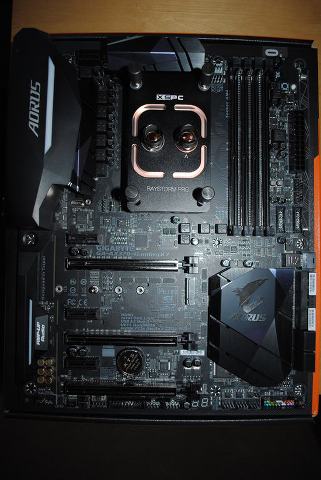
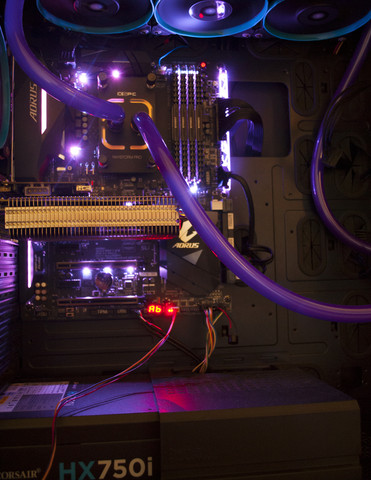
Cooling the CPU I have recycled my previous water cooling loop and this consists of: A new Raystorm AM4 CPU Block; 360mm radiator; Monsoon 2 bay reservoir; Liang D5 pump. This is overkill for the system but, it had been previously used for motherboard and GPU cooling too.
Operating System: Windows 10 64bit.
Main Software: Cubase 9; Native Instruments Komplete 10 Ultimate; Photoshop; Microsoft Office 365; Chrome web browser. There are also several other programs installed for video editing/creation and for media playback including VLC player; iTunes etc.
This system has been built for use as a DAW and not as a gaming rig. Therefore, my main concern was for multi-threaded capabilities, enough RAM to run a lot of VST plugins, and as near silent operation as possible.
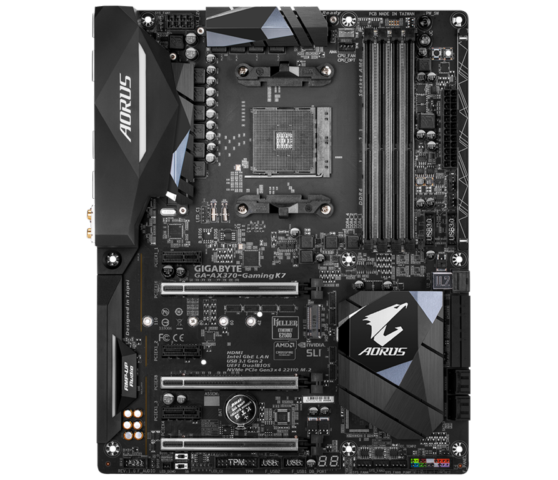
Having read all the Ryzen and AM4 motherboard reviews, when they were released, I had a fair idea of what to expect from this build. As such, I will not be going into the finer details of the motherboard but will try to give an honest report of how I have found the system to be. However, that said, I was surprised at the solid feel of the motherboard and the fact that it felt heavier than other motherboards I have worked with.
The motherboard is well laid out with the only issue, for me, being that the M.2 slot is tucked away under the 1st PCIx16 slot. This makes it impossible to get to once you install a GPU.
I won't bore you with the details of putting the rig together but it was pretty straight forward. The User's Manual covers all the main points and it didn't take too long to connect things up. Filling the water cooling loop and leak testing, actually took quite a bit longer to do.
With the basic system now built, it was time to fire the motherboard up for the first time. I switched the power on and then had to wait for a couple of minutes as the motherboard seemed to be detecting the hardware components. At one stage, I was concerned that the motherboard wouldn't enter BIOS, as this process seemed to take a long time to complete. With this hurdle crossed the motherboard settled down and the RGB LED's were glowing orange. I had life on the monitor and a message telling me that no OS could be found. Not surprising really, as I hadn't installed one yet.
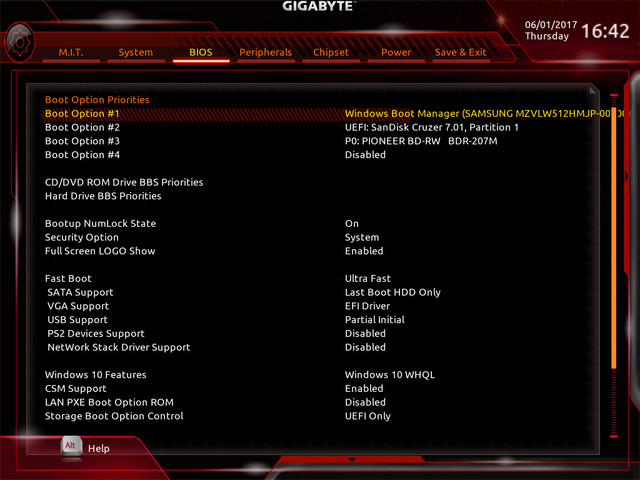
I reset the system and this time entered BIOS by hitting the "Del" key. The board had shipped with the F3 BIOS so I didn't have to update that. The BIOS screens are well laid out and are easy to navigate.
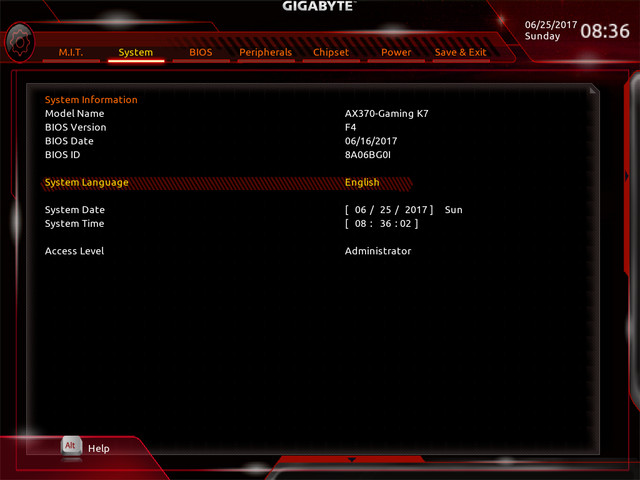

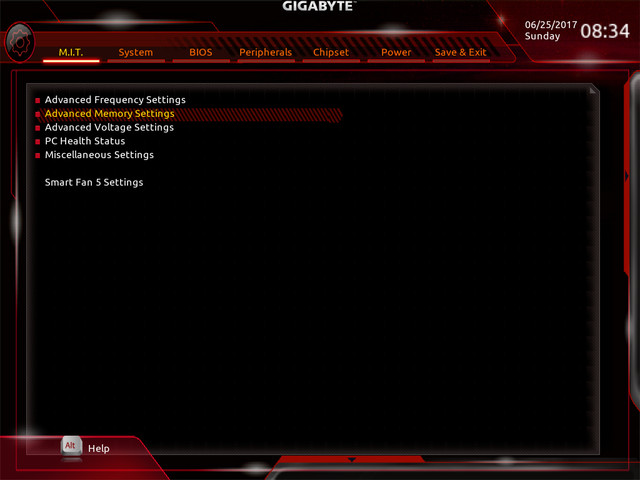

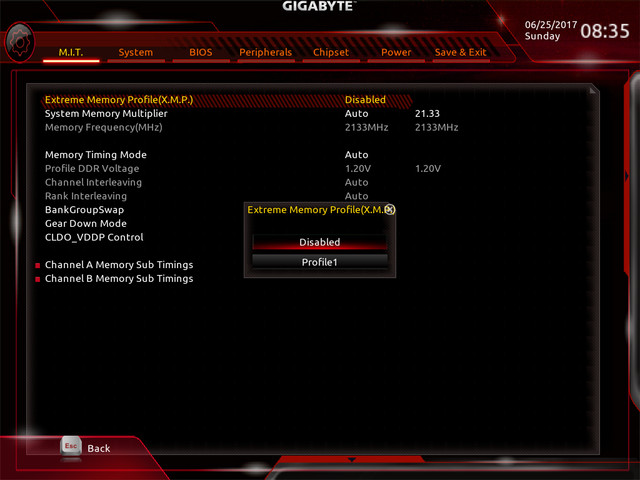
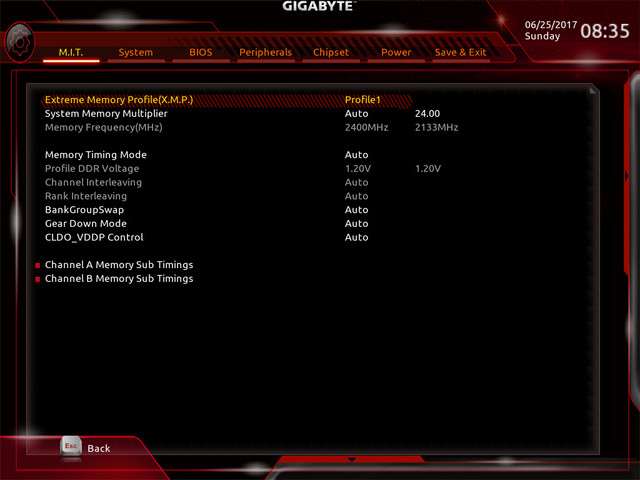

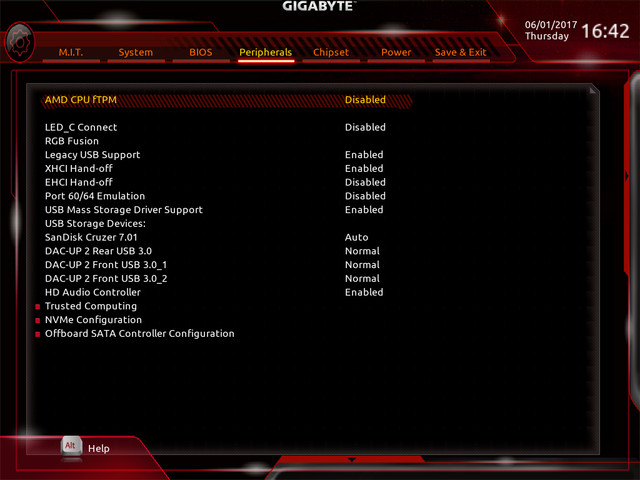
A small niggle here though, as I found my touch pad control was very sluggish and I assume it would be the same if you are using a wireless mouse. It is actually, easier to navigate, using the keyboard and a lot less frustrating. At this stage, I didn't alter the BIOS settings too much other than setting my RAM to the XMP profile, setting a few of the basic details and playing with the RGB Fusion control.
Installing the Windows 10 OS was, for a change, a pleasure. I had loaded the files onto a USB pendrive and once the process had started I was on-line and using the PC in under 8 minutes. When I checked, all necessary drivers had been installed so I didn't really need to do anything with the driver disk that came with the motherboard.
I did, however, install the Gigabyte drivers for the Realtek Audio and the Killers LAN but that was all. I did not install any of the Gigabyte App Centre bloatware that comes with the motherboard as I have learnt, over the years, that this is not necessary and often causes more issues than it is worth.
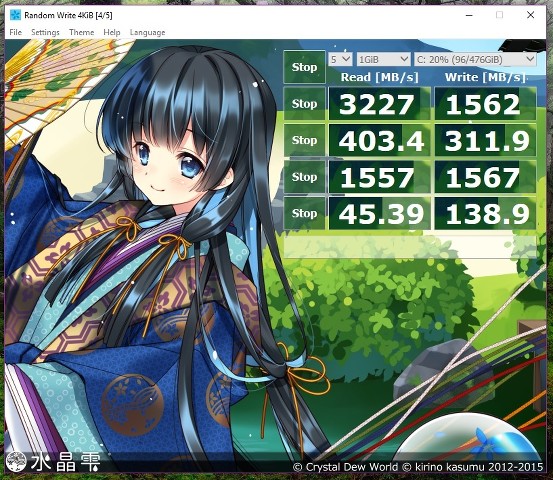
As with all new PC system, I do like to get an idea of what it is capable of. Never having used an NVMe drive before, one of the first things I did was run CrystalDiskMark to see what read/write speeds I was getting. With a read speed of 3175 Mb/s and a write speed of 1588 Mb/s I was getting the speeds that had been advertised for this drive.
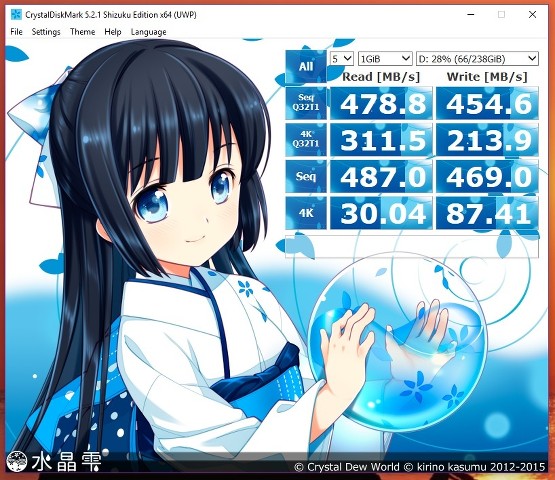
In comparison, the SSD drives returned figures of: 478.8 Mb/s read & 454.6 Mb/s write.
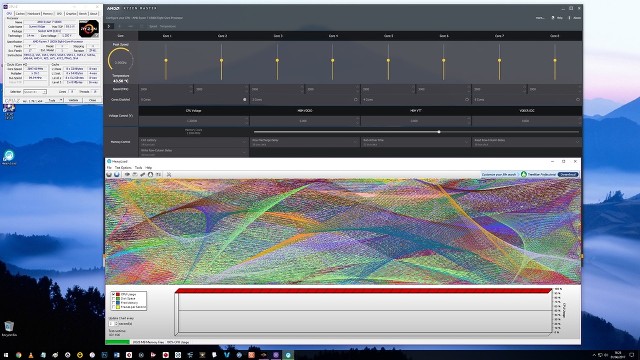
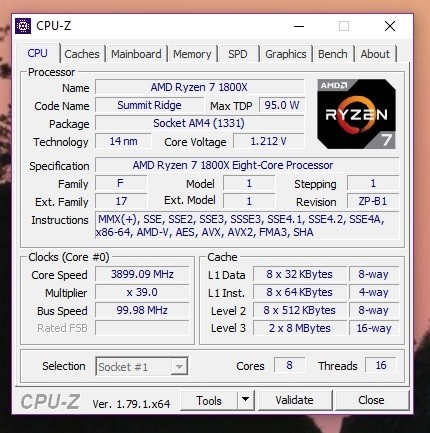
Because of the newness of the Ryzen/AM4 platform, several of the usual programs I use for monitoring temps and hardware states are not as effective as they are on the Intel platform. In the end, I settled on downloading and using Ryzen Master to monitor the CPU temp and frequency. CPU-z has also proved useful for checking CPU voltage, RAM speed etc. With my custom water cooling loop, idle temperatures for the CPU are about 28C but, when the CPU is under load they would peak at over 60C. This is with the Windows Power plan setting at balanced.
Once I was happy that everything was working as it should, I installed all the main programs and software that I use. Drivers for the Roland USB interface and other items, were automatically downloaded and installed and I soon had my new DAW PC setup, just as I had hoped it would be. Using the PC for the past month, I have had no issues and the motherboard has been rock solid.
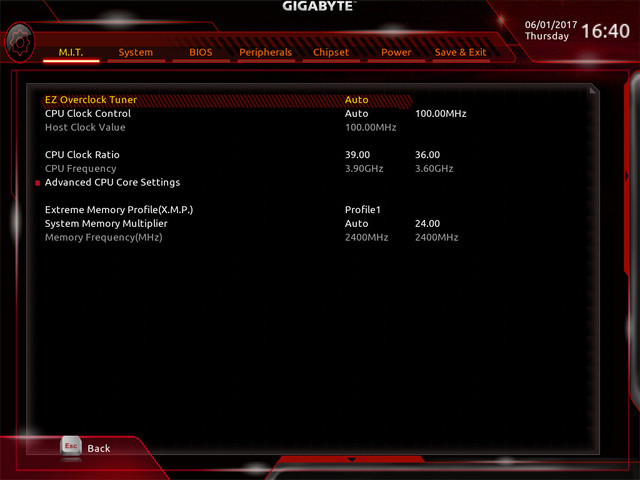
So, after using the PC for about a month, I decided it was time to see if I could improve things a little, with regard to OC'ing the CPU. My target was a simple one: to get 3.9Ghz across all cores of the CPU with minimum voltage to keep temperatures down as much as possible. Now, this may not seem like a major OC but, when you consider that most of the reviews and tests have only managed to get 4.0 - 4.1 GHz from these chips, often with very high temperatures, I feel it is a worthy target.
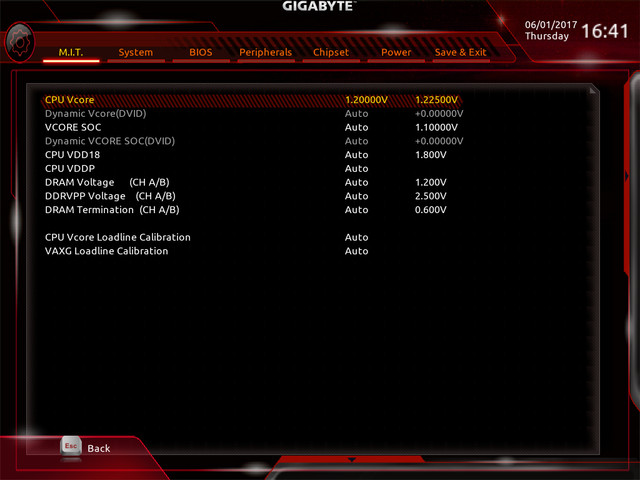
In the first instance, I decided to use Ryzen Master to tweak and test the system before transferring things into the BIOS. This was an easy way for me to go from one extreme to another, especially with the CPU voltage, to see what worked and what didn't. After several hours and more than a few crashes, I managed to get the system running at 3.9 Ghz across all cores with a constant CPU voltage of 1.20 Volts.
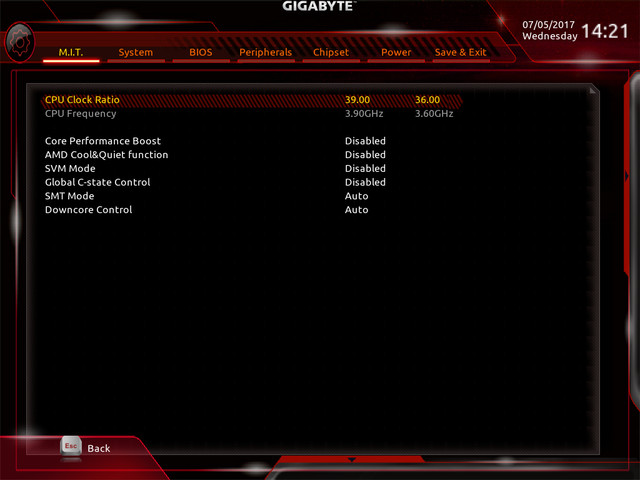
In the BIOS under the CPU Clock Ratio Settings, I disabled the Core Performance Boost, AMD Cool & Quiet Function, SVM Mode & Global C-state Control. The SMT Mode and Downcore Control I left on Auto.
This gives an idle temperature of about 30C (ambient room temperature of 23C) and a peak of 43.5C when the CPU is under full load. I am more than happy with this and feel that I have achieved my target. I also must say that I found it easier to tweak this Ryzen processor, than I have ever found it to be with the Intel chips I have owned.
There is now an updated version of CoreTemp that reports the Ryzen temperatures and CPU Frequency correctly.

Just a little note here, if You use the Ryzen Master software to O/C then you will notice that the Debug LED Panel shows “OC” when the settings have been enabled. A nice way of knowing if you are doing things properly, as the system doesn’t shutdown and reboot, to implement changes made with the software.
Also, the two BIOS chips on this motherboard can be switched so, if you run into trouble when over-clocking, it is very easy to reset things. I made use of this feature a couple of times during my experiments and was very relieved that it was easy to switch from the Main BIOS chip, to the Back-up chip and vice-versa.
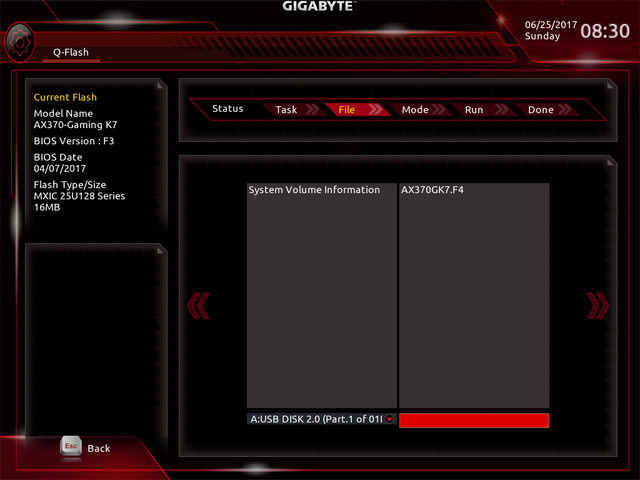
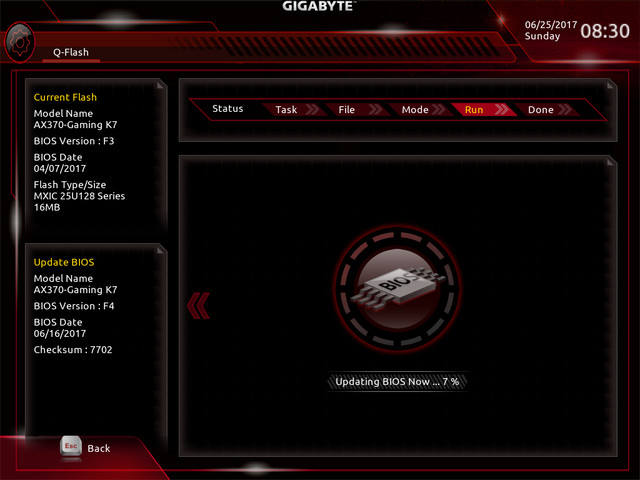
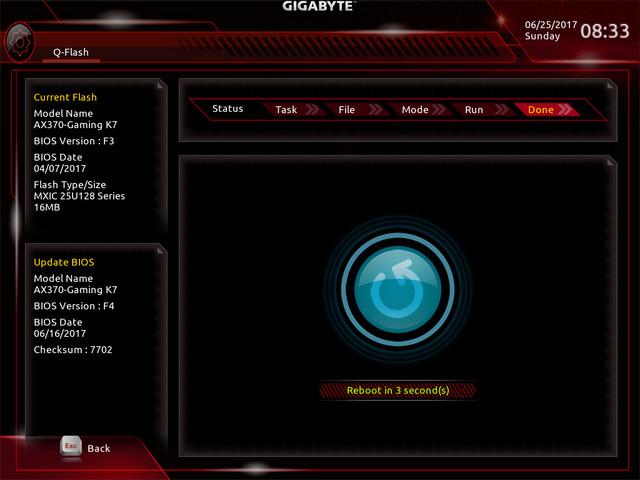
Since the GA-AX-370-Gaming K7 was released, an updated BIOS has come along. I don’t usually bother updating the BIOS when everything is going OK but, I thought I would do so in this instance. I always use the QFlash utility for flashing BIOS. As I have found this to be very reliable. The flashing process was straight forward and the necessary steps are prompted through on-screen messages, in the BIOS. It is worth remembering, if you are planning on updating the BIOS and you have previously altered things, to load Optimized Defaults before you start the Flashing process as this can also help to prevent issues.
Having now been running the GA-AX370-Gaming K7 for about two months, I must say that I have been impressed. It is a very solid board and in all respects, has exceeded my expectations. All the Hardware I have added has been recognised and works flawlessly. When going through the initial phases of setting up the BIOS, I found it to be clean and very easy to navigate. It is well laid out and there is the right number of items to be tweaked without it becoming overwhelming. As I have previously mentioned, the only real complaint, with the BIOS is, the speed with which my Touchpad (and now tested wireless mouse) respond. To say it is painful, is an understatement and navigating the BIOS is best done using the keyboard.
The RGB LED lighting, on the motherboard is good, if you are looking for this. However, I have found that I disabled this feature, after a very short time.
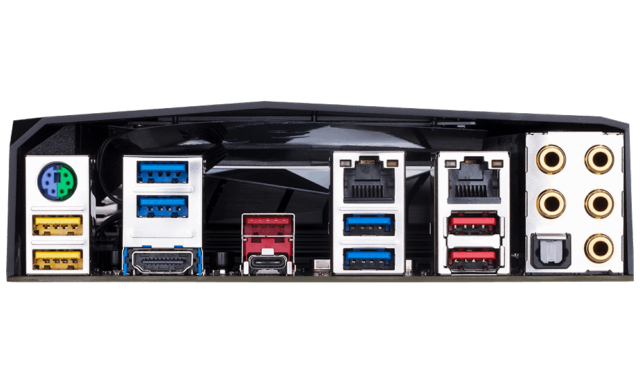
On-board audio is excellent and handles everything I have thrown at it so far. Admittedly, I only use the back-panel outputs, connected to my 5.1 sound system so I cannot comment on the front panel connectors but, the sound output is very high quality even at extremely high & low volume levels.
Having two options for LAN connection is more than I need and I have found that I only use the Intel socket and this works perfectly.
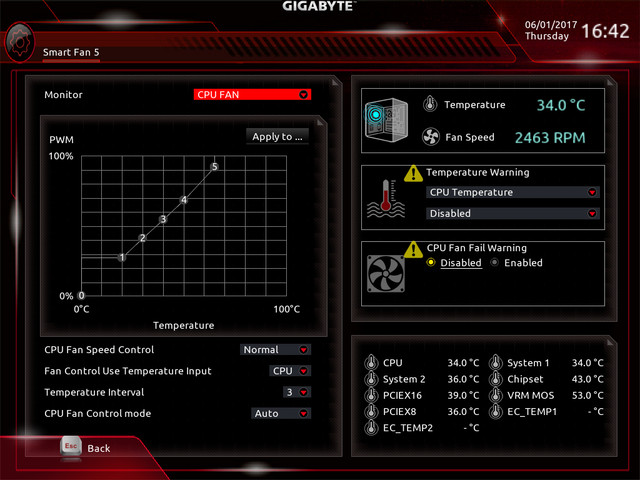
There are plenty of Fan headers on the motherboard that can be controlled through the BIOS or Gigabyte App Centre. I haven’t used these as I have a separate controller for the fans on my cooling system. But, I did test them out and they seemed to function very well.
Overall, the GA-AX370-Gaming K7 is a fantastic motherboard. It has proven to be, solid, reliable, easy to set-up, stable and very fast. It handles voltages accurately and very well. None of the motherboard components get too hot, even when I have minimal airflow through my PC Chassis, which is a testament to how well Gigabyte have implemented voltage control on the motherboard. The abundance of USB ports, Fan headers, LAN sockets, Audio & BIOS chips, enhance the board even further.
